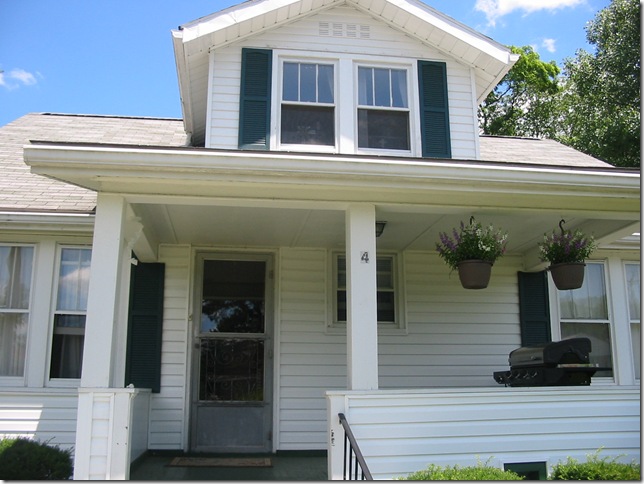
This is my house:
Say "Hello, House!"
I thought I should introduce you. I'm going to be sharing with you what we did and are doing to it. Mostly because I'm quite obsessed with it's remodel.
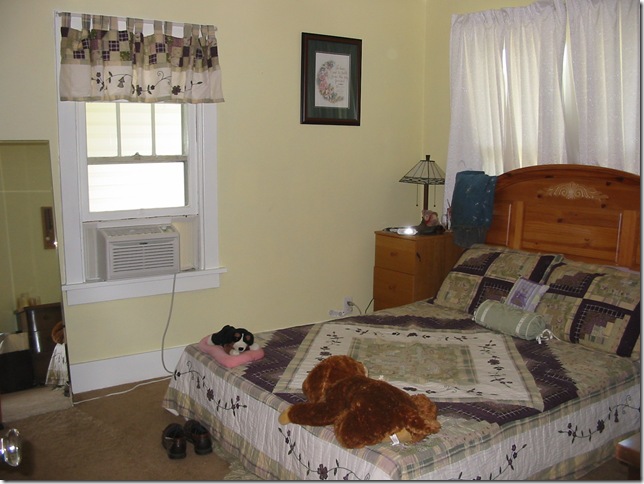
This is what the master bedroom looked like shortly after we moved in. Pardon the mattress on the floor, I was staging a protest.
And, on the wall opposite the bed, paneling! (which was apparently was so horrifying I never took a picture) With only one closet, barely big enough to house my clothes. Luckily for Nick's homeless clothes, it's twin occupied the same wall space but opened to the kitchen. Yes, his clothes lived in the kitchen. And he changed in the kitchen. And left clothes all over the kitchen.
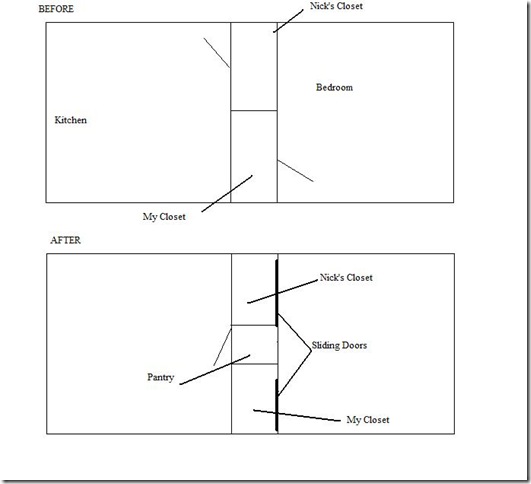
Obviously, this clothing situation just could not be, so we decided to tear down a wall! (or rather I did, Nick didn't see why his clothes couldn't live happily ever after in the kitchen) Here was the Plan(not necessarily to scale):
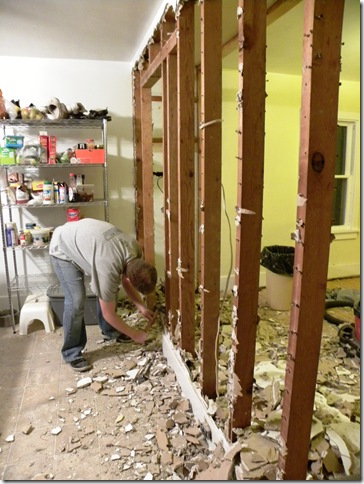
So, we removed the ugly paneling.
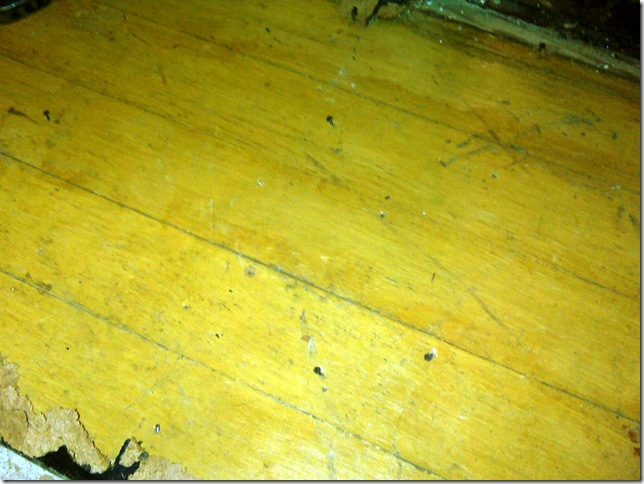
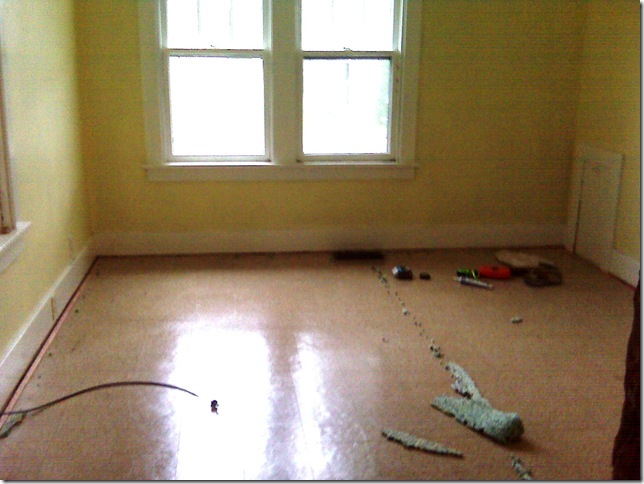
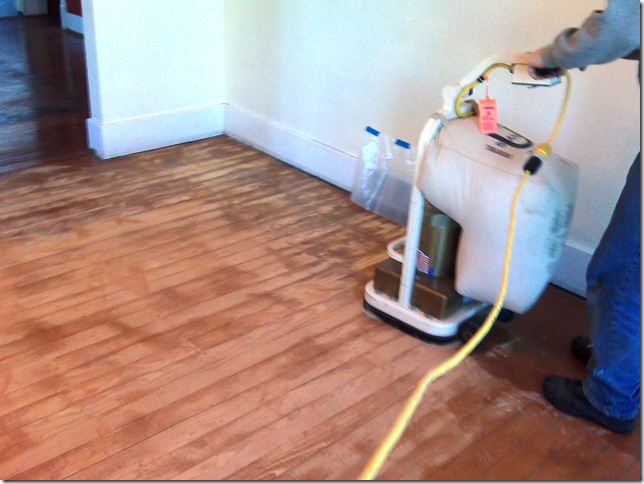
But of course, the floor in Nick's closet was tile and mine was carpet & that just wasn't gonna jive with the new floor plan, so we started ripping up floors. The plan was to only remove the flooring in the closet area and we'd deal with what we found. Worst come to worst, we'd put in those sticker tiles. Well, there was tile under the carpet, but under the tile was...WOOD FLOORS!
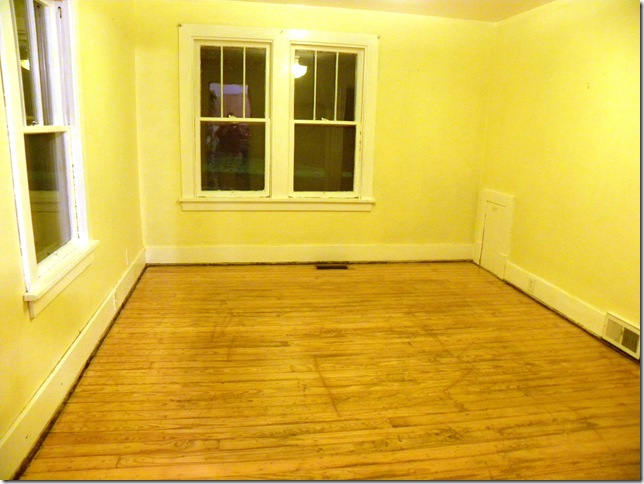
So we removed all of the flooring in the bedroom, then in most of the first floor and did a 4 MONTH detour into flooring.
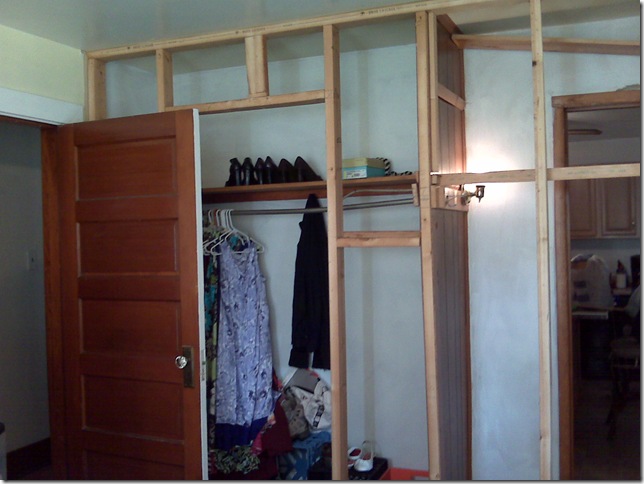
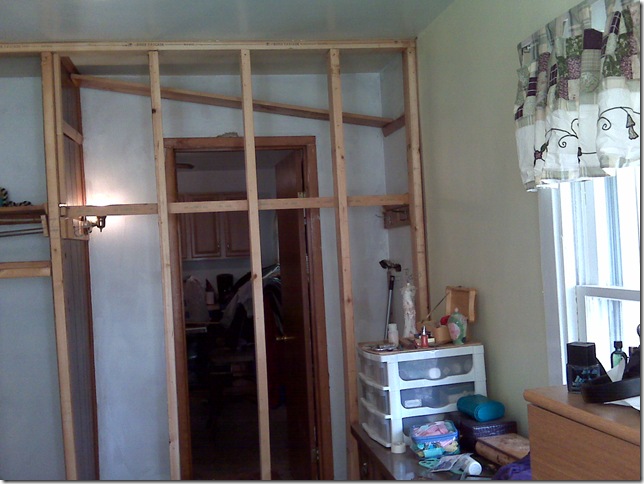
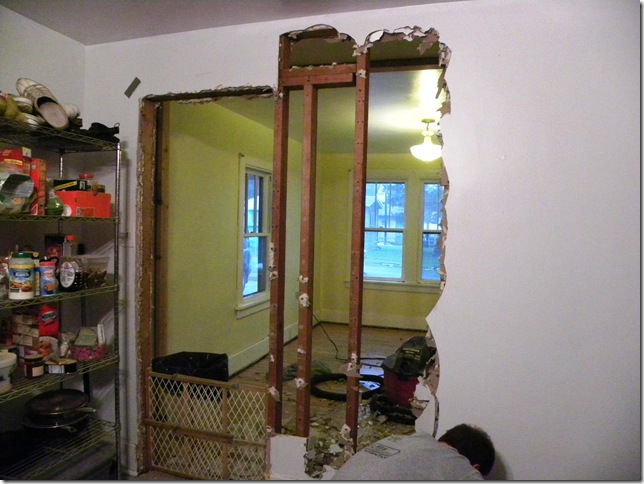
The bedroom was by far the most distressed and took the longest before we gave up on the sanding and we were a little worse for the wear, but we finished it shortly after Christmas (the rest of the floors were finished in November) Then it was time to remove the plaster from the kitchen wall, rearrange the studs and put back the studs in the bedroom, which we took out for ease of closet-floor sanding.
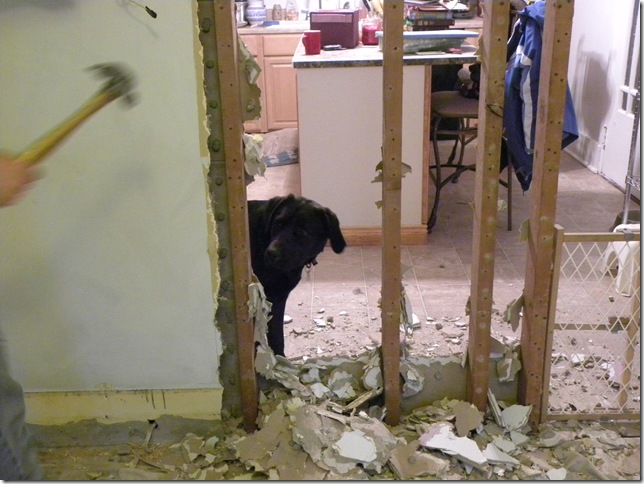
This was the point where Sadie decided we were nuts.
But the walls were cleared
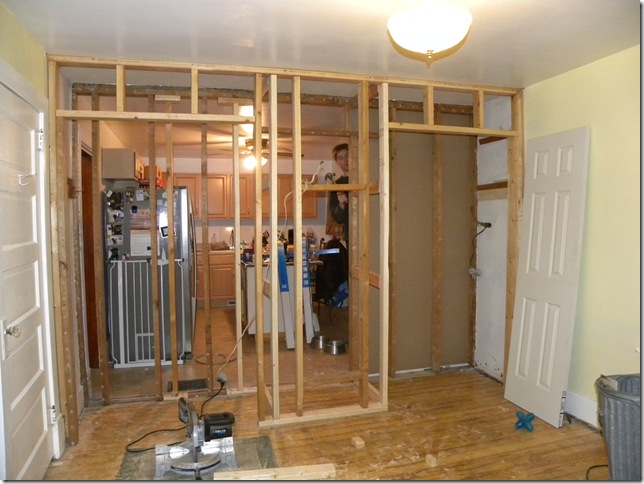
And new framing was erected
And incase you wondered what we did when the Good Lord saw fit to dump 3 ft of Snow on Pennsylvania in the course of 24 hours,
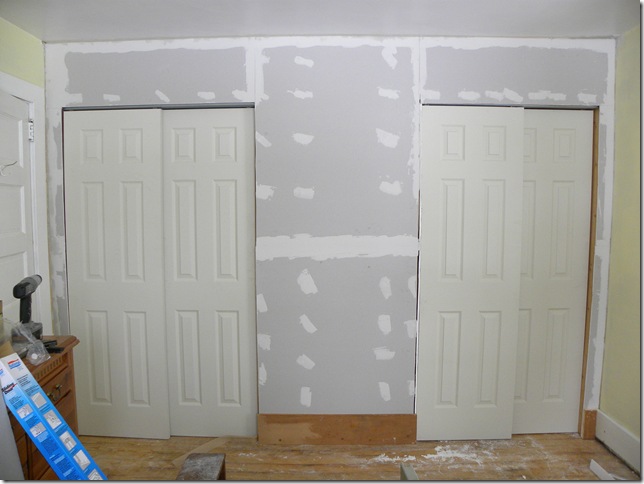
We were hanging drywall! Of course!
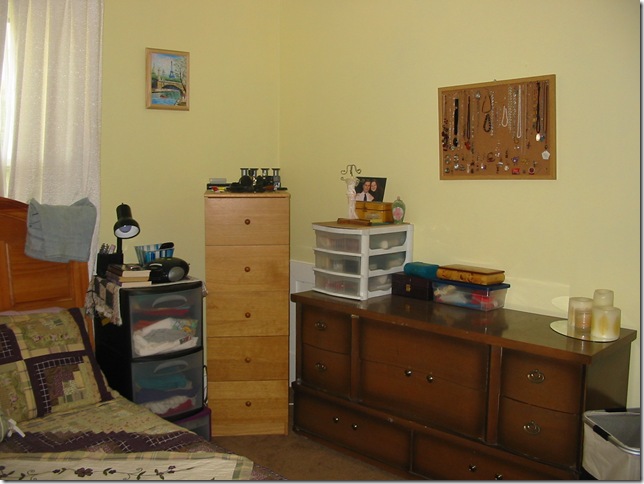
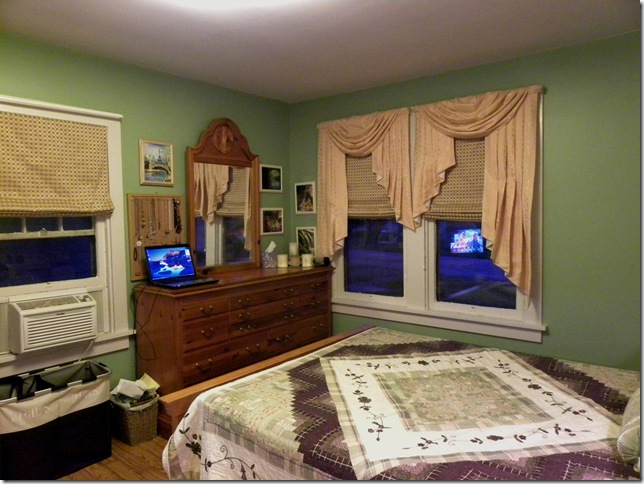
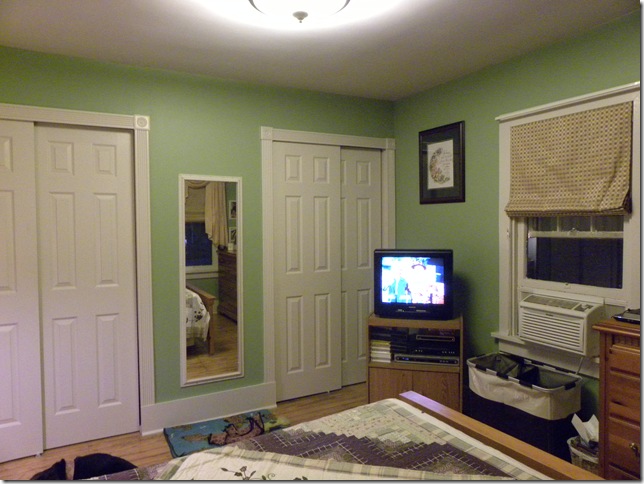
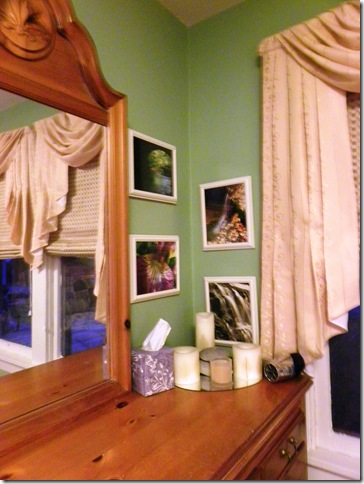
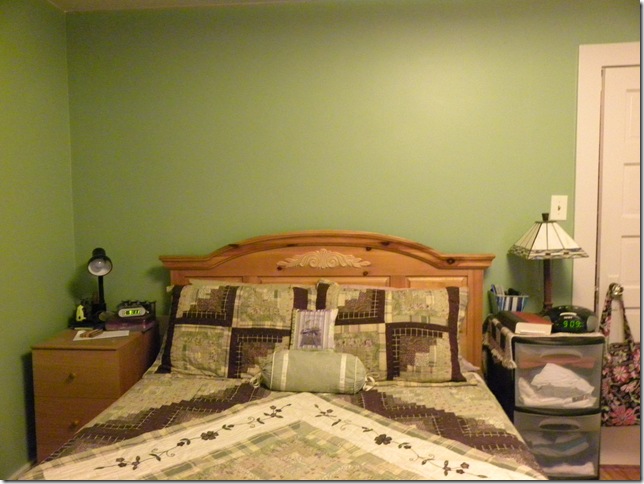
But then we had scuffed floor boards in some spots and naked ones in others and no shoe molding anywhere. We also had bare drywall in some spots and translucent, poorly done yellow paint in others, so we painted! I chose Egret White for the trim (you'll hear that name a lot because I am standardizing the whites in my house to egret) and haven green, both sherwin williams paints because my uncle lets me use his business account there. The paint itself was Duration Home, which is Green stamped, extremely low VOC and 100% scrubbable! Oh, and Nick's parents brought in the dresser from his bedroom at their house to complete the look and his mom made us new curtains (same pattern & liner as the livingroom so it looks uniform from the street but different fabric) and roman blinds.
When this pic was taken, the one curtain was out for alterations, but they all match now.
His and Hers Closets! AND, I don't have any pics of the process, but that full length mirror is actually a heavy beveled number (with a crack in the corner) that my parents have had my entire life, and I'm not even sure how I wound up with it. When we put up the studs for the closet, we placed them about the size of the mirror. I bought regular crown Moulding & ripped divets for the edge of the mirror with the table saw and the frame is actually nailed into the wall, the mirror is permanent.
The poor wall above the bed is still naked. I'm thinking antique stained glass, or maybe i'll make my own stained glass, but i'm not sure yet.
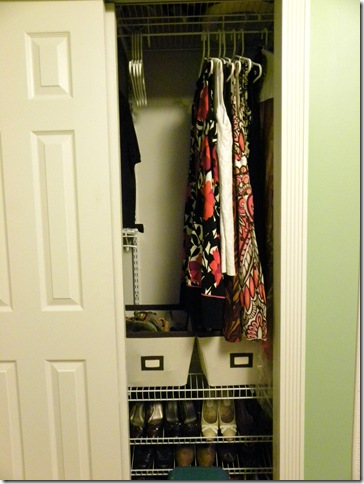
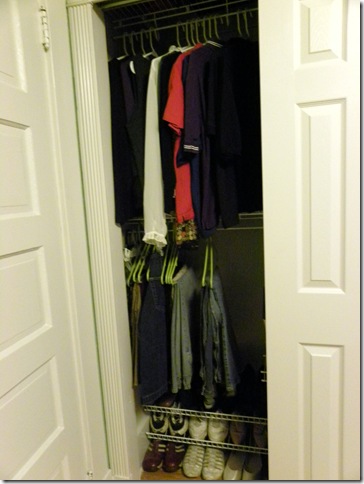
Oh, and while I may have given up closet space in the deal, I actually GAINED storage capacity, thanks to my closet organizer. Nick opted for a bar and a shelf.
P.S. The green looks better in the daylight then with the icky CFL bulbs in the pics, but such is life.

No comments:
Post a Comment