My laptop is sick and I have to send it away for repairs. I guess I'll post again when I get it back. Sorry about the time off.
Sunday, October 31, 2010
Wednesday, October 27, 2010
Homemade Wine
My hubbs makes his own wine and i had asked him a while back to write a guest blog on wine making. Here it is:
Wine making is both fun, and economically smart (No alcohol taxes to pay on home brews). The equipment, and ingredients needed are not expensive, and there is a definite satisfaction to being able to brew excellent table and desert wines for guests and for gifts.
The recipe for wine is simple. Juice (sugar), and yeast, minus air. Yeast, like the kind used for making bread eats sugar. If yeast eats sugar, but has no oxygen to breath it will only be able to digest the sugar part way into ethanol alcohol. So, after sterilizing the bottle we fill it with juice and “inoculate” it with yeast. (Sugar may be added if one wishes to raise the alcohol content and/or the sweetness of the wine) Then the bottle is fitted with an “airlock” that allows the carbon dioxide gas to escape but not allow oxygenated air into the fermentation tank. The bottle is then placed in a cool dark area and allowed to ferment for several weeks. Some people think it’s advisable to rack the wine to another fermentation container after two weeks to mitigate any chance that the wine will pick up a musty flavor from the dead yeast after primary fermentation is complete.
A short word on airlocks: an airlock consists simply of a simple pipe that forces escaping carbon dioxide to bubble up through water. Airlocks made for the job can be bought from a wine supply store for about 1$. Personally I think it is well worth the investment. A home made airlock can consist of a tube that leads from fermentation tank and vents under water in cup or bowl beside the fermentation tank.
Also, for a better quality wine, a wine makers yeast will help significantly. A single packet of yeast is sufficient for a 5 gallon batch and costs about a buck. (Also worth the money) In traditional wine making, the yeast that grows naturally on the grape skins is what is used. Traditionally grapes were pressed in large batches, which would greatly improve the chance that one of those grapes will have the ideal yeast strain on it’s skin.
Unless we have access to a vineyard; we will likely have to make do with what we have. Fruit juice can work very well. Apple juice in particular works well nutritionally for the yeast, though it’s greatest drawback is that it tends to be a little light on sugar to ferment and can come out quite dry and with a low gravity. Also, if you must buy your juice from the grocery store; I recommend making it out of concentrate. (Yes I know some orange juice suppliers advertise that their product is never from concentrate, when concentration is nothing more than dehydration done with a vacuum pump.) Concentration is the single most effective way to preserve juice without the addition of preservative chemicals. Just stay away from the “Grape Juice Drink” stuff and get 100% juice with minimal additives.
The next step is called racking the wine. While traditionally you should allow fermentation to continue for many months until the very last of the yeast has died and settled out of the wine, it makes a lot of sense to add a mild preservative (campden tablets or sodium metabisulfite in it’s chemical name) after several weeks to kill any remaining yeast and allow the wine to clarify before racking (While this is a modern technique, it helps improve the flavor of the wine significantly. The tablets can be bought at a wine makers supply store for two or three dollars.). The whole purpose of racking is to filter the wine. In racking, the sediment from the fermentation process is allowed to settle to the bottom of the tank and the good wine is siphoned off from the top. This process works best if one has a soft flexible tube to do the siphoning with. The process is then repeated as needed to allow the wine to clarify.
After clarification the wine is ready for bottling. Be sure that all seals after bottling are airtight. Exposure to oxygen for to much time will spoil wine in any stage of its development or storage, and turn it into vinegar. Also, if you get into this, you may want to invest in a specific gravity meter which will measure the amount of sugar in your juice so that you can tell how much alcohol is in your wine.
Halloween
There is a lot of controversy in the Christian world. I get why and I'm not here to debate it. My family has always "celebrated" Halloween, though in an extremely mild way. To me it's nothing more than a time for costume parties and carved pumpkins. An opportunity to dress up and be creative? Count me in. (Actually, I don't think we're gonna have an opportunity to dress up this year... darn)
I'm one of those obsessive pumpkin carvers, with print outs and nails to poke holes in the pumpkin and my entire butcher block out on the porch, along with a power drill. I still did that this year, but I decided to keep things a little simple, classy if you will. I'm not sure how I did with that.
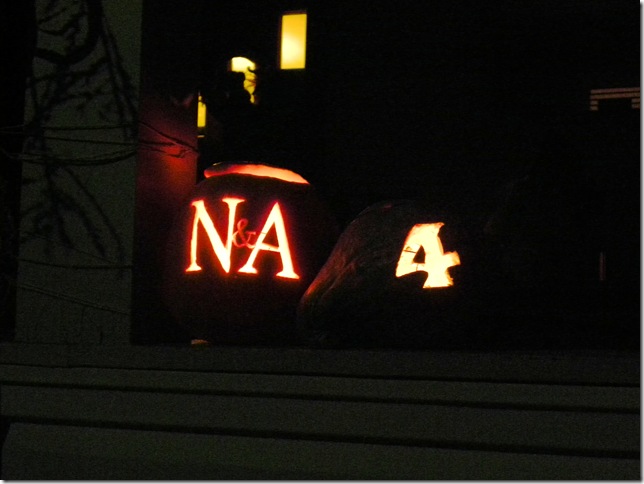
Our initials and house number.
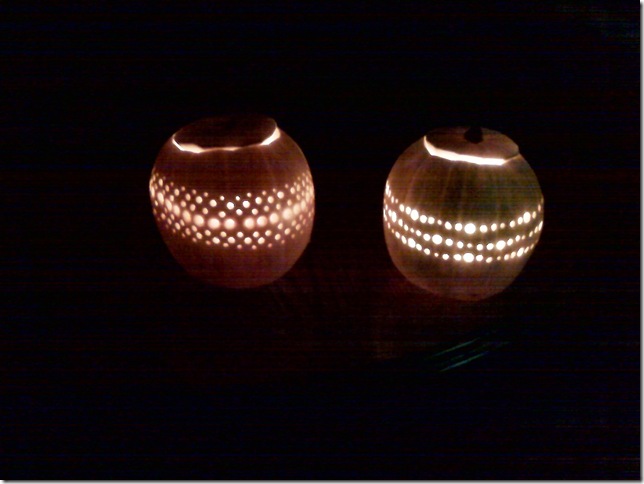
A luminary and Nick's "Cut First, Think Later" pumpkin (whose mouth I had to prop open because of the weight of the pumpkin).
These are some ones I did in college.
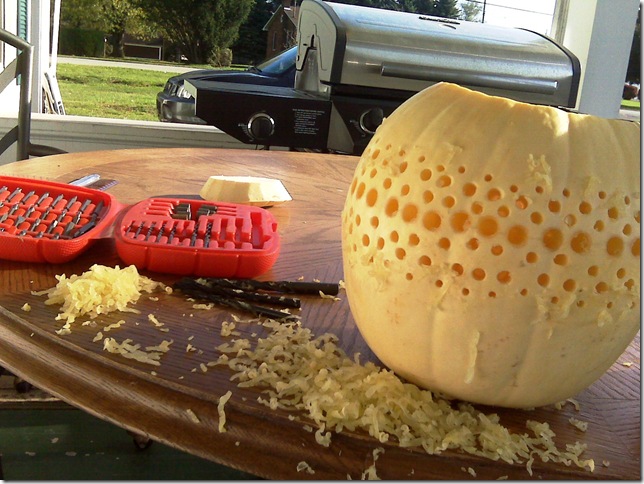
And these are last year's. I guess home ownership has made me try to do simpler things with my pumpkins.
My big dilemma this year was what to pass out to trick-or-treaters. I figured that if i'm gonna do this thing right, I should try to encourage the kids in my neighborhood to eat well, but I didn't want to be a scrooge about it and just hand out fruit. That'd have been seriously expensive anyways. Middle-of-nowhere though we live, we had 120 kids last year. Also, the news has parents so paranoid about fruit and people putting pins and stuff in it. Halloween paranoia also pretty much leaves out baking my own treats too. It's such a shame that parents have to be so worried. I looked in to buying organic candy (i was thinking gummy bears maybe) but it was way expensive. What's a girl to do? I got 3 40 packs of pretzel bags. At least they won't give them a cavity. I dunno that i'm happy with it, but there you have it.
A Little Paint and Fabric Can Make a BIG Difference.
Our house has come a long long way. It still has just as far to go. Being seriously underemployed of late, I have a lot of time but not quite so much money. It took a while, but I finally found a couple projects that I could do for little money, but plenty of elbow grease.
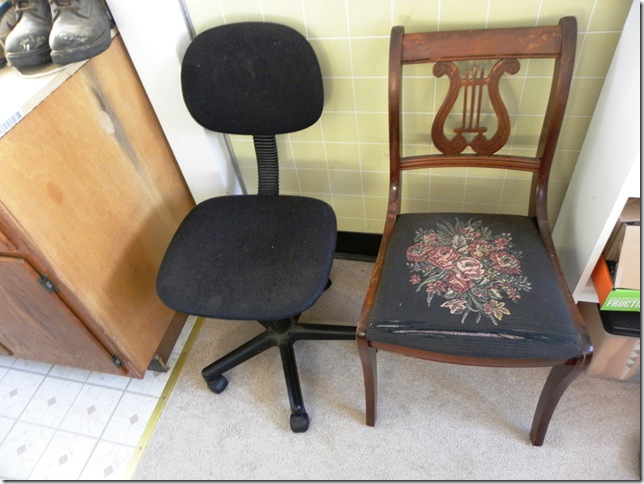
Meet my office chairs. On the left, a 10 or 15 year old office chair that probably only cost $25 when it was purchased, to go with my family's FIRST computer. It was retired to my bedroom just a couple years later for habitually loose bolts (which I have replaced most of over time) and for butt murder, because its foam had been so deflated. It also wasn't the cleanest thing ever. On the right is a Duncan Phyfe-style lyre chair. It is probably a hundred years old, easy. However, both the finish and the tapestry are both ruined. Let's say it'll never be a collectors item or fetch a high price.
In my primarily white & yellow office, these two were dark spots. I went out and bought 2 cans of stick-to-anything-even-plastic spray paint, 2 yards of fabric with lemons on it and a yard of 1" foam.
Aren't they cheery? My staple gun and I make a good team.
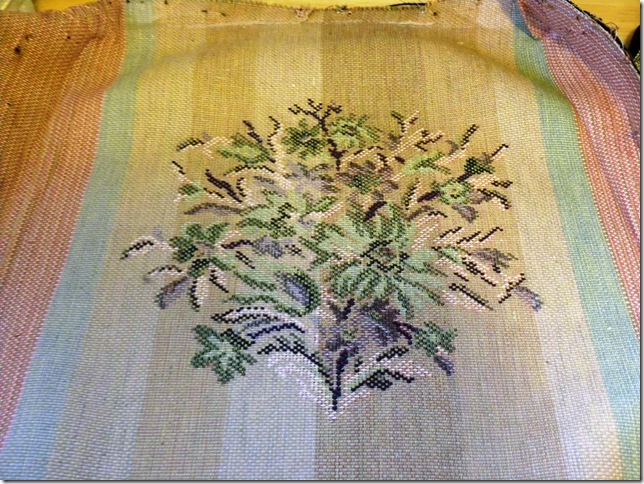
Also, there was a SECOND tapestry under the first. The second one was actually in better condition, though also fraying from being sat on.
The hidden tapestry actually looks pretty cool from the back AND it'd go well with our bedroom. I think I'll keep it and frame it.
I'm not so sure about the second one though. They'd make a nice set, but it seems so busy.
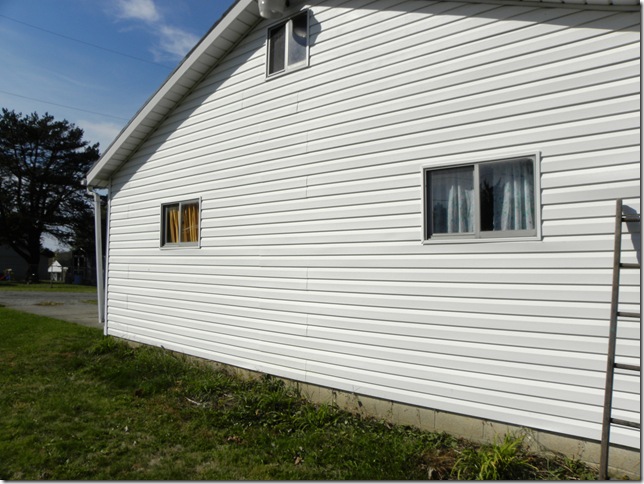
The front wall of my house is decorated with green shutters. ALL the rest of them are quite boring
I just couldn't look at it anymore. It needed some color. Most of the windows are wooden and could use some paint anyway, but I need to find a ladder to get to them. The garage, however, is a later addition and has very thin metal window frames, so I had to get creative.
I took the planks from our fence that the tree had broken and cut them to size. They're pretty old and weathered and I thought they'd give my little cottage the look that they'd been there for a while.
Like? Oh, and did you notice that the big splotch on the siding is gone now? Nick pressure washed the ENTIRE house and sidewalk this past weekend with our neighbor's washer. It was a much needed improvement.
Monday, October 25, 2010
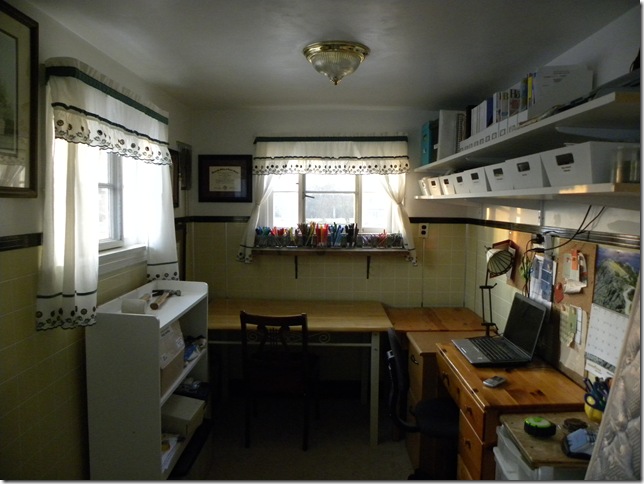
Past Projects: The Laundry Room & Office
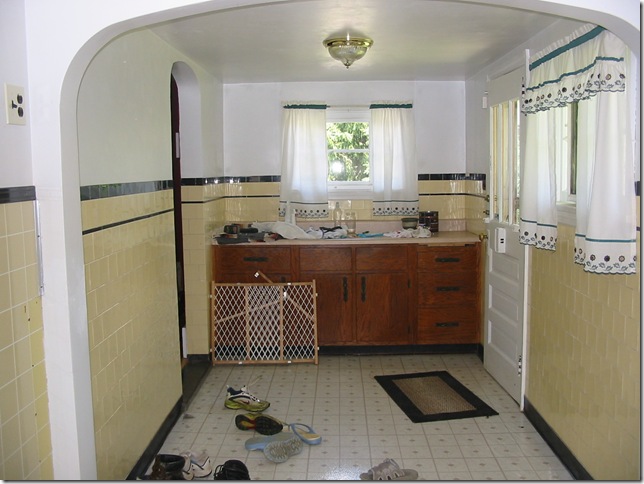
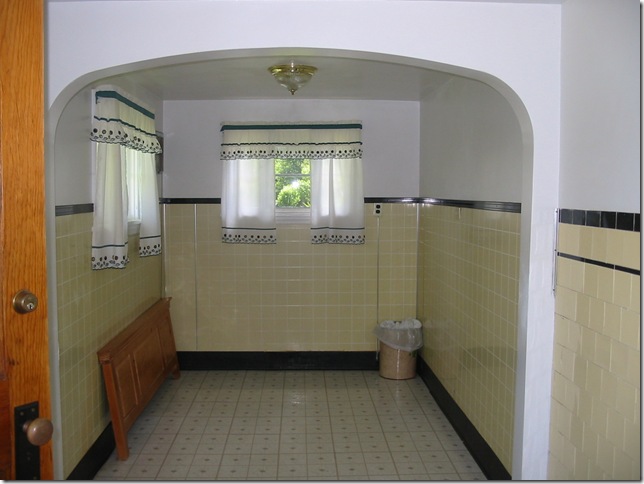
Like many older houses, ours came with a couple quirks. One of the bigger quirks was what I referred to as "The world's biggest mud room" when it still existed. It was a porch turned kitchen, then left without much of a purpose when the kitchen got moved again. I swear the kitchen has been in almost every room on my first floor.
After we did most of the floors on the first floor, we recycled some of the livingroom carpet to cover the back half of the room.
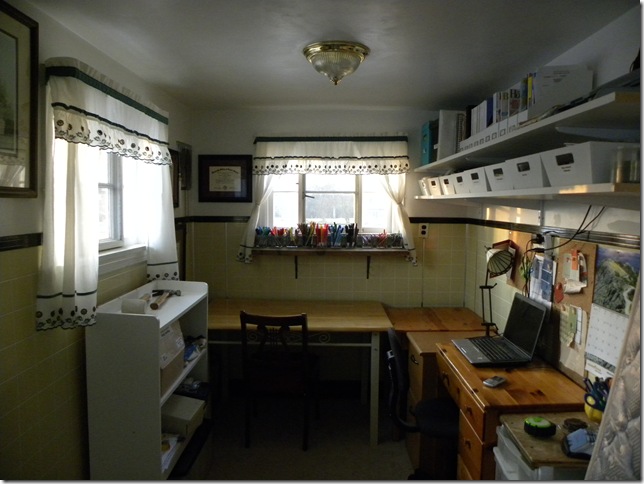
We moved the office furniture in, and put some shelving up and voila! I'd like to someday replace that free-standing bookshelf with shelving of the same kind, only spaced farther apart with bigger baskets on it.
You wouldn't believe what we went through to get these shelves up. Never did find the studs on our walls.
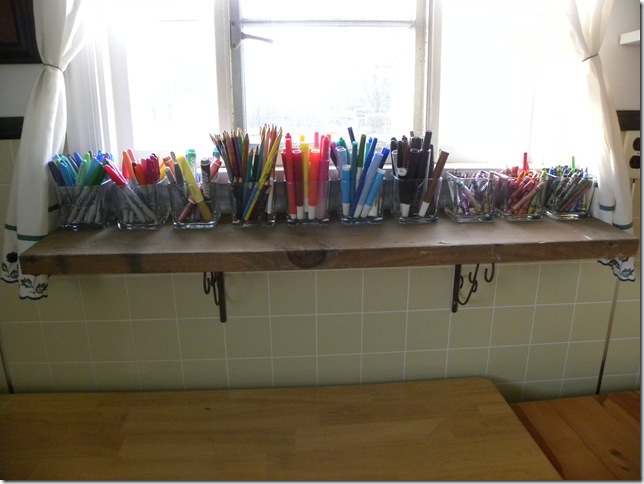
This shelf is now white and it gets tons of use! This window is one of only two south-facing ones in the whole house. Good place to put a plant, if only i could keep one alive.
The other half, we transformed (functionally) into a laundry room this summer. It still needs quite a bit in the aesthetics department though.
Those hanging cabinets resided in that spot some time ago. We found them in one of the garages and re-hung them. We also cut the countertop and rearranged the lower cabinets.
Once Sadie doesn't need her crate anymore, I'm going to put a bench with coat hooks where it is now. (Lookie at the office table, it looks like i had been soaping when this pic was taken)
Shampoo WIN and other soaping things
After an INORDINATE ammount of time to set up and dry out, pushed along by a stint in the freezer, my shampoo bars finally dried(mostly... enought to use). And I LOVE how they clean my hair (in conjunction with store-bought organic conditioner and Baking soda occasionally for hairspray build-up) For all you soapers out there, here is my recipe: Warning, it stinks a lil, but smelly conditioner covers it up no prob.
25% Canola Oil, High Oleic
20% Castor Oil
20% Coconut Oil
25% Olive Oil
10% Safflower Oil
After it had cooked, I added Rosemary Beer Syrup (I boiled down a bottle of yuengling 'til it was really thick with rosemary tied in a coffee filter to infuse it), one egg yolk and a tbsp. honey.
It smells funny and it took forever to cure but it lathers beautifully and leaves my hair silky (and for those of you who aren't aware, my hair is one of my greatest vanities AND i'm growing it long again)
OTHER SOAPING STUFFS
I'm sort of in love with rebatching. I've had a lot of trouble lately with moist but crumbly bars. I'm not superfatting all that much, but I do feel like its the excess oils that are doing it. Rebatching makes the bars more consistent.
This past weekend, I substituted black tea for water and added ground cinnamon and clove eo. It smells so yummy!
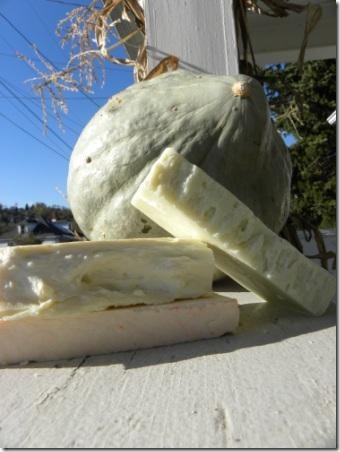
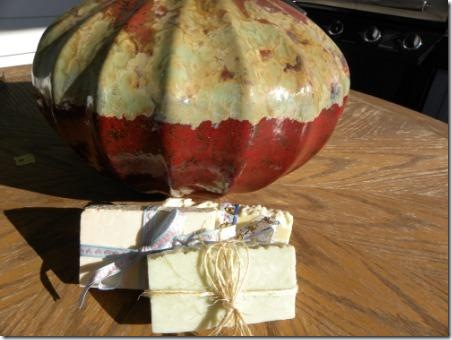
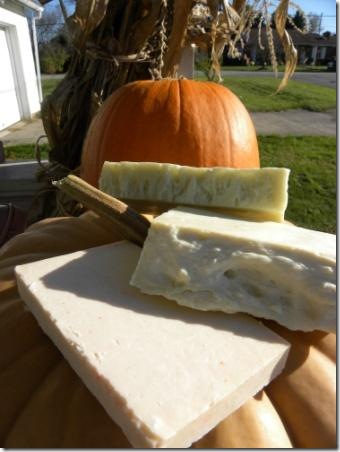
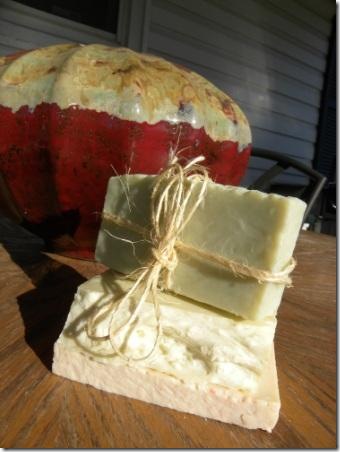
I'm on the process of setting up an etsy shop for my soaps, maybe bring in a little more income. It's still very much a work in progress. I took some pics this weekend, though i'm not at all settled on my wrapping. I'm kinda idea-less actually, so thoughts would be appreciated.
Sunday, October 17, 2010
What’s Been Up in My Kitchen
BUTTER FOR BAKING
On butter day this past week, knowing that I was gonna bake cookies for Nick's lunch(Check out these TASTY whole-wheat choc. chip cookies), I made some changes. First, I didn't salt most of the butter (this also made for more useful buttermilk). Second, I filled my 1/2 cup measure (the size of an average stick of butter) and dumped it into a cup of my big muffin tin. Almost nothing ran out, apparently the cups are about 1/2 c. I smooshed all of the unsalted butter into the cups (and even my 1/2 cup measure since i made 6 1/2 cups worth of unsalted butter) and tossed it in the freezer.
Once it was nice'n'hard, I ran the bottom under hot water, put a knife down the side and they popped out. Perfect 1/2 cup measures for baking!
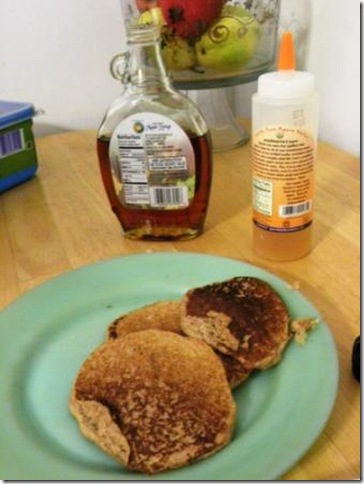
PEARSAUCE PANCAKES
- 2 cups dry pancake mix
- 1 teaspoon ground cinnamon
- 2 eggs
- 1 cup pearsauce or applesauce
- 1 teaspoon lemon juice
- 1/2 cup milk
NAME THAT MUSHROOM
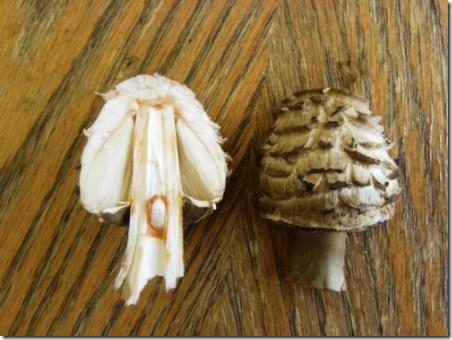
It probably isn't edible(darn!), since I can't find it anywhere on the Internet, but does anyone know anything about this mushroom? There are a ton of them growing under the pine tree, right along my side walkway.
GRETCHEN-INSPIRED TACO NIGHT
My freshman RA, Gretchen, posted on her blog this past week that she makes her own tortillas. I had never even thought of that, despite having trouble finding satisfactory tortillas. I had to give it a go.
2 c. Whole Wheat Flour
1 tsp. Salt
1/4 c. Butter
Put it all in the food processor until it's a fine crumble. Add 1/2 c. lukewarm water (or enough to form a ball...it took just under a cup for me) while it is still mixing. Dump out, form into a nice ball and refrigerate for a few hours. Makes 10-12 tortillas. Divide the ball and roll out until VERY thin. Toss on an ungreased, warm skillet until it starts to bubble. Then flip. Watch carefully so you don't burn it!
I served them up with Guacamole and chips and Bear Taco Meat. Yum!
Tuesday, October 12, 2010
Some Ideas for House Guests
We've got quite a bit of extra space in my house (room to grow, I like to think of it). Until our fam does some of that growing, I've been putting together three guest rooms. I know it's silly for people who live so far from anything interesting, but it makes me feel like that space has purpose (and I LOVE guests). This past weekend, we had our first official, pre-planned house guest. I'm not gonna lie, I spent 2 weeks scouring the Internet for ideas on things you can do to make your guests comfortable that applied to our situation and budget. Here are some of the small touches I came up with.
I left out a full set of towels (which match my bathroom, if not the guest room), a travel-size bar of my homemade grapefruit soap, a basket of mini travel toiletries i'd been collecting and some dog treats. The dog treats my sound a little nuts but I have a young, big dog who can be a bit overwhelming. She is friendly as can be, but doesn't understand that knocking you over in her rush to see you won't always be perceived as friendly. Luckily, she is also extremely food motivated and I thought treats would be a helpful survival tool.
I left a glass and a pitcher of water for her. Ironically, she didn't notice it while she got settled and asked me for it before she turned in. I felt so prepared to inform her that her room was already stocked, and she felt less weird. Apparently, other people she had stayed with thought it odd.
Beside the bedside table, I left an EASY-TO-USE alarm clock, Bible, Devotional, and some current magazines. I also left a light close enough to the bed that it could be turned off without tripping over things.
I draped an extra blanket over the foot of the bed, incase she got cold. I also left some candied almonds and a note on the bed. The note was a short survival guide to my house. Most of it had to do with my dog, but it also included where to find extra toilet paper, how to work the window... anything I could think of that she'd want.
I moved a dining room chair upstairs. I know it isn't exactly a cushy reading chair, but we sort of have a shortage of those in my house. I also left out tissues and a pen and paper for my guest.
Unfortunately, this was a very short visit, she left at 5am. Typically, I would make breakfast for my guest but that was just a little too early for me. Instead, I made a batch of Pancake & Sausage Muffins inspired by Heavenly homemakers, though instead of their intricate pancake recipe I used my whole-wheat bisquick pancake recipe. That way, she could reheat them in the am and top with agave and/or syrup and I didn't feel bad about not cooking.
Hope these tips help!
Pasta Thomas Oliver would be proud of!
My mom's family is very Italian. My grandma is Roman Catholic and she middle-named my mom and all of her sisters after the "Holy Mother". We eat fish every Christmas eve, baked ziti on Thanksgiving and the volume of a family dinner can be deafening to the unaccustomed. Not only that, but my Italian Great-Grandfather was an accomplished chef. My mom always says I cook like him... not so much because of the food, but because I am such a HOPELESSLY messy cook.
But, we are also American. Pasta comes out of a box and sauce, while often homemade, is regularly stretched with a jug of Ragu.
This past weekend, while out in the yard doing a work burn of the branches of my fallen poplar tree, my neighbor offered me a pasta machine she had purchased at a garage sale and didn't have time to use it.
This morning, armed with a whole wheat pasta recipe and my new toy, I set out to make my forefathers proud.
RECIPE
2 1/2 c. Whole Wheat Flour (The finer the better)
1/2 tsp. Salt
2 Eggs, Beaten
1/3 c. Water
1 tsp. Olive Oil
I tossed everything into the machine & mixed, tweaking the texture until it resembled the pea-sized chunks described in the manual, and set it to extrude. About halfway through (one full-length disc of pasta already extruded), the dough turned into rubber. The extruder quit extruding and the machine stopped, never to start again. It was probably on its last legs anyway, and I DID get a small amount of very good, professional-looking pasta out of it. I hung it on Nick's boy scout pie rack (suspended by two rolls of paper towels) as though it were a pasta rack and it dried out in a jiff! I can't wait to try it. I think I might also invest in a manual extruder one of these days and make a habit of it.
Wednesday, October 6, 2010
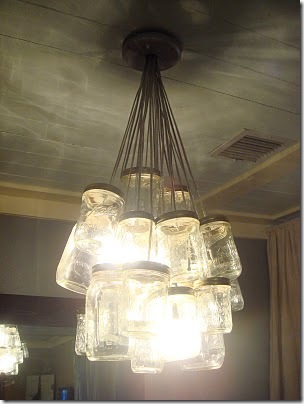
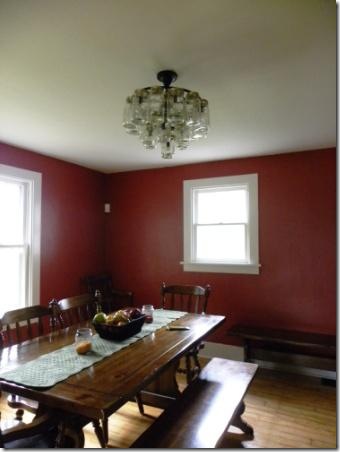
The Long-Awaited Mason Jar Chandelier Post
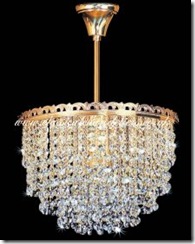
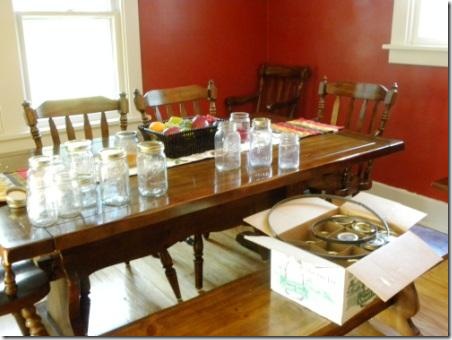
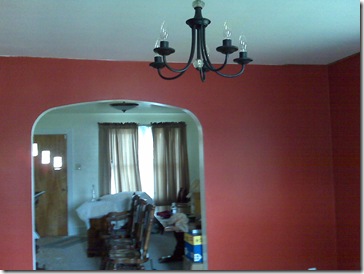
beauty of a chandelier, complete with a full tutorial on the designer's site. I was in love. A mason jar light fixture? B-b-b-but all of my every-day glasses are mason jars and I can and...this is just too perfect. In the morning, I showed it to Nick who, in his infinite wisdom, pointed out that while the CONCEPT was indeed "so me", he couldn't envision me having such a hap-hazard light fixture. He was right, I'm way too type A for this, but I was not ready to give up that easily.
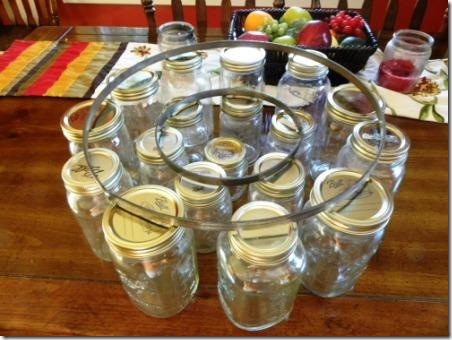
measured them,
