I'm so excited to share this with you!
I knew people made their own soap long ago and there were some people crazy enough to still do it, but i never considered it a reasonable thing to do... UNTIL I read that it could be done in a Crock Pot...fix it and forget it right?
First thing you have to do if you want to make soap is find a recipe, in this instance, a hot process recipe. There are a TON of them online, but make sure you run them all through a lye calculator. I started out with a recipe of 80% Olive Oil and 20% Coconut Oil, plugged everything into my lye calculator and it gave me all of my exact measurements. The lye was very hard for me to locate, but Lowe's sells it (Roebic Crystal Drain Cleaner, labeled as 100% lye, NaOH) in their plumbing section (not the cleaner section).
METHOD
1. Turn Your Crock Pot on to low
2. Using a scale (not liquid measures), measure your oils and put in the crock pot.
3. While the oils are warming/liquefying (if solid at room temp), weigh the water and lye. USE GLOVES, and goggles or a mask if so inclined, when handling lye. It is highly caustic and can cause chemical burns. Lye also reacts with aluminum, so keep it away from it, and be very cautious about cleaning procedures for any kitchen item that comes in contact with it.
4. Combine water and lye in a heat proof glass container, adding the lye to the water. If you add the water to the lye, there will be a very unpleasant volcano. Stir until the lye is completely dissolved. This part gives off some pretty strong fumes, be careful!
5. Dump water/lye solution into the pot (still set on low with oil in it) and use an immersion/stick blender to mix it very well until it's nice and thick and even.
6. Cover and wait for 30 minutes.
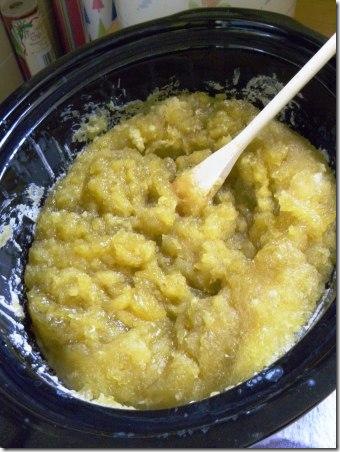
7. After 30 minutes, start checking it and stay nearby, it should just be starting to get thick around the edges, but still noticeably creamy in the middle. (this pic is from 35 min, the disruption in the middle creaminess is cuz I couldn't help prodding)
8. By about 45 minutes, the island of creaminess should be completely gone.
9. When it is gone, remove the crock (or if you're kickin' it old school, just turn the pot off) and stir, checking for any missed creaminess (return to heat if you find some). My instructions recommended that you rub a pinch of soap between your fingers until cool then touch it to your tongue. If it needs to cook longer, it will feel like a 9v battery on your tongue. I couldn't tell if it stung like soap in my mouth or a 9v battery.
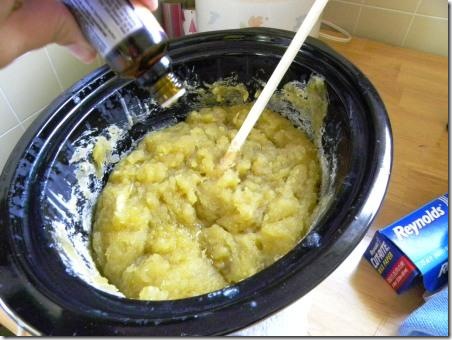
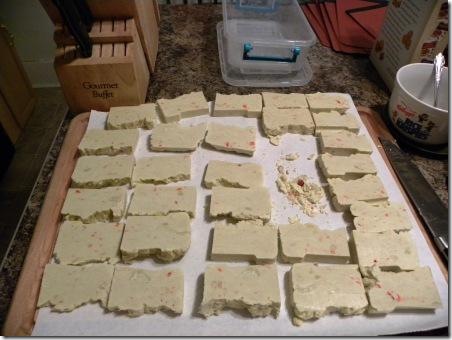
10. Now is the time to add any scents or colors. I added grapefruit essential oil, and I had hoped to color a portion and swirl it back in. Unfortunately, contrary to what I read on the net, the soap wasn't warm enough to melt my crayon shavings, so i wound up with crayon confetti in my soap (making it unfit for use in laundry soap, heaven forbid that crayon confetti wind up on the dryer).
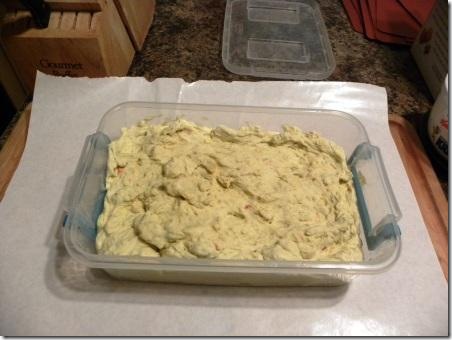
11. Place in relatively heat-proof mould and cover.
12. The soap will stay warm for much longer than you'd thing (it's a chemical thing and part of the process). It's ready when it is cool and solid to the touch. Mine was ready overnight, but I'm told that's not always the case.
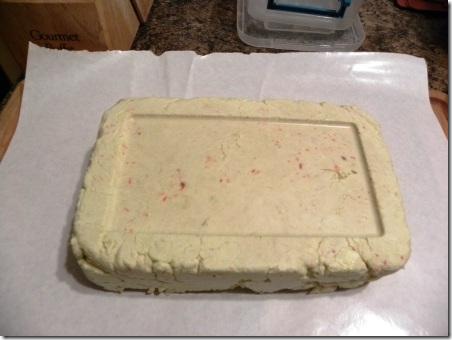
13. As the soap will continue to get harder for a week or two, cutting the soap immediately upon unmoulding is best.
14. It is ready to use at this point, but will continue to harden for about another week. When it is harder, it should lather a little better. Any little chunks can be kept and used for something more productive, or pitched. I chose to wrap mine individually in butcher's paper (wax/plastic side on the inside) but you can also put any kind of paper in the middle to store. If the soap ever irritates your skin, stop using as it may be a sign that the lye wasn't all processed. Your homemade soap won't probably be as bubbly/lathery as bought soap, but suds don't actually clean.
HAPPY SOAPING!


